How to Build a Shed
A step by step guide on how to Build a Shed including necessary tools, estimated costs, time frames, best techniques and what not to do.
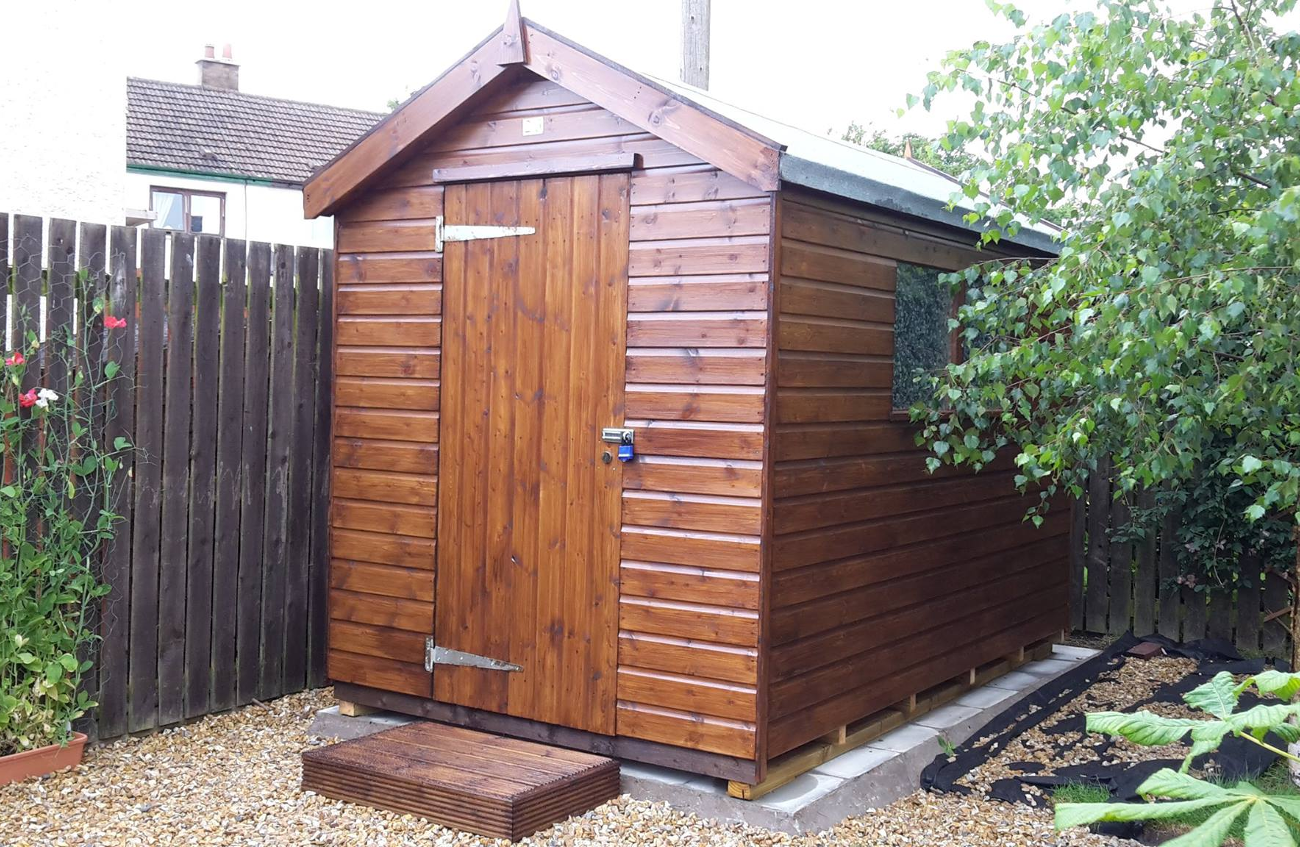
Sheds can serve many great purposes. You can use it for tool storage, a mini-garage, or even as a play area for the kids, if you don't have much extra space inside of the home. Whether you are building a storage shed for your tools and want a work area for yourself, or simply want to store some of your favorite gadgets, so nobody else has access to them, building a shed is a project which can take on many different forms. Depending on size and material choice, there are several guides which can help. This is a basic guide to help you on your way to installing a new shed.
List of Required Tools
- Deck piers (foundation)
- Floor joists
- Plywood sheets
- Screws and nails
- Tar paper roof
Step by Step Guide
This step-by-step guide will help you in the construction phase of designing and building a shed. There are several different options for construction, in this guide you'll find a simple approach to installing a shed in any area or outdoor space, even if you have limited knowledge in woodworking projects.

1. Leveling the ground
This is simply done by laying out a series of deck piers over the area where you plan on building the shed. This creates an even base for you to construct on, rather than the ground which isn't leveled.

2. Installing support beams
Stringing and adding support beams on top of the deck piers will create the stable groundwork for your new shed. You'll attach a rim joist on the outermost edge of the support beams, each of equal length. You'll then install the floor joists across the entire length of the floor beam. A piece of blocking can be added between the floor beams to prevent movement.

3. Installing the plywood base
You will simply nail down the plywood base on top of the joist/beam frame you constructed on the ground. In most instances, if the joists are properly placed, you won't have to cut the plywood as it should fit perfectly atop the base frame. You can also screw down the plywood flooring for added durability/structure.

4. Building the framework (four walls)
When building the back wall, your top and bottom beams should be equal in length; you will build this using your wood beams to complete the process. When building the front wall, you must account for space for the door opening. So, measure the area for a hang door, and build around this area when constructing the front of the shed. When building the side walls, you should angle the top plate, so you can easily install the sloping roof.

5. Nail the wall structures & build roof rafters
Once all wall structures are built, you will nail them to the ground (plywood base). Once the frame is set up, you'll add rafters to the roof. This is simply a series of boards you'll place (at equal distance) running across the top of the walls. This will serve as a base for the plywood sheet which will go on top of the shed, to create the roof finish.

6. Add plywood sheeting
Nail the plywood sheeting on top of the rafters to construct the roof. You will also cover the walls at this point with reinforced plywood sheets (or material of your choosing). You can find prefabricated wall sheets which simply fit into the frame you've constructed, so no additional nailing or reinforcement work is necessary.

7. Add the tar roof
Adding a tar paper roof is the final step. This is a good material as it helps prevent overheating, and will also preserve the plywood material below it. These tar sheets are simply adhesive based on one side, so you'll simply roll it out and press it over the roof, for a finished/textured finish.
How to Build a Shed Video
Tips & Techniques
When building a shed out of plywood materials, make sure you choose high-quality plywood, and something which can withstand heavier weight limits/amounts. Additionally, the pavers, and support beams purchased, should be extremely sturdy material. Because you are going to place so much weight on the foundation, you want to know it can withstand the weight. Choosing more durable materials for construction may cost more, but will also result in a better quality/construction shed.
Don't be afraid to make modifications. As with any shed design, as long as you are properly spacing the beams and foundation, you can use different materials as desired. Whether it is your budget, or you simply don't like the appearance of plywood, there are other materials you can choose from. When modifying materials, make sure you account for added/reduced weight, size differentiations, and other design aspects, to ensure you will build a shed which looks great, and one which is structurally sound as well.
Am I best to hire a tradesman?
Building a shed is a project any homeowner can do, and enjoy building. There are many DIY shed building kits you can buy, or you can simply choose to buy the materials yourself, and build a shed based on different guides/instructions. Additionally, building the shed yourself allows you to add your own personal touches, you can choose different materials/finishes, and you can add your own personal decorative touches throughout the space. Whether you want something simple in design, a small shed for tools, or plan on adding plumbing and electric wiring to the space at a later date, so your kids can have a play area, there are many great shed guides you can follow, to build your own shed.
Homeowners will find this project is one of the easier DIY projects they can do, even if they aren't experienced at woodworking or don't have experience in building other wood structures. It is an enjoyable undertaking, and one which isn't too costly, if you know which materials to buy, and how to go about choosing the best plans to help you build your shed.


